



The shadowy digital underworld of Welcome to the Game 3 presents players with a gauntlet of relentless adversaries, each with unique mechanics and terrifying tactics. This installment of the popular survival horror series, developed by Reflect Studios, amplifies the tension by introducing persistent killers who actively hunt players attempting to navigate the treacherous landscape of the dark web. As players delve deeper into illicit online activities, they become targets, forcing a constant state of vigilance and strategic evasion. This guide aims to provide a thorough understanding of each persistent killer, their attack patterns, and the most effective countermeasures to ensure player survival.
The core premise of Welcome to the Game 3 revolves around a player-controlled character, often referred to as Simon, who must engage with the dark web to gather information, fulfill requests, and earn cryptocurrency. This pursuit, however, attracts the attention of various entities within this digital ecosystem, manifesting as the persistent killers. These adversaries are not mere jump scares; they are sophisticated threats designed to exploit player weaknesses and punish mistakes. Understanding their behaviors is paramount to success.
Early Game Preparations: Establishing a Foundation for Survival
Before confronting the immediate threats, players must prioritize establishing a robust operational base. The initial hour of gameplay is critical for setting up essential resources and understanding the game’s economy. This involves engaging with various in-game platforms:

- VirtMesh: This platform serves as the primary source for mining cryptocurrency. Accumulating sufficient funds here is crucial for purchasing vital equipment and tools from other vendors.
- DarkDrop: This is the central marketplace for acquiring specialized items. Players will need to spend their earned cryptocurrency on tools that enhance surveillance capabilities, such as motion sensors and security cameras.
- A.C.R.S. (Anonymous Communication and Retrieval System): This platform is essential for both earning reputation (Rep) and accumulating funds through less direct means. Players can complete requests by gathering and selling sensitive video data from the dark web. Additionally, blocking hacking attempts on this platform contributes to their Rep and income.
- ShadowFetch: This utility allows players to convert URLs into MP4 files, a crucial step in fulfilling certain data-gathering requests.
- Channel Pinging: A vital tactic involves pinging users on various channels before they reset every half hour. This action saves their requests, allowing players to revisit them later if they find the necessary video data.
Killers typically begin their active hunt from 9:30 PM in normal mode. Therefore, having a solid foundation of resources and intelligence by this time significantly increases survival odds. A key survival mechanic involves the immediate shutdown of the computer whenever a player plans to leave their safe zone or suspects a killer’s proximity. This includes situations where a killer is known to be queued up after a player resets to the last checkpoint.
The Persistent Killers of Welcome to the Game 3
Welcome to the Game 3 features a roster of distinct antagonists, each with their own modus operandi and triggers. Mastering their mechanics is the key to outsmarting and outlasting them.
Bomb Maker
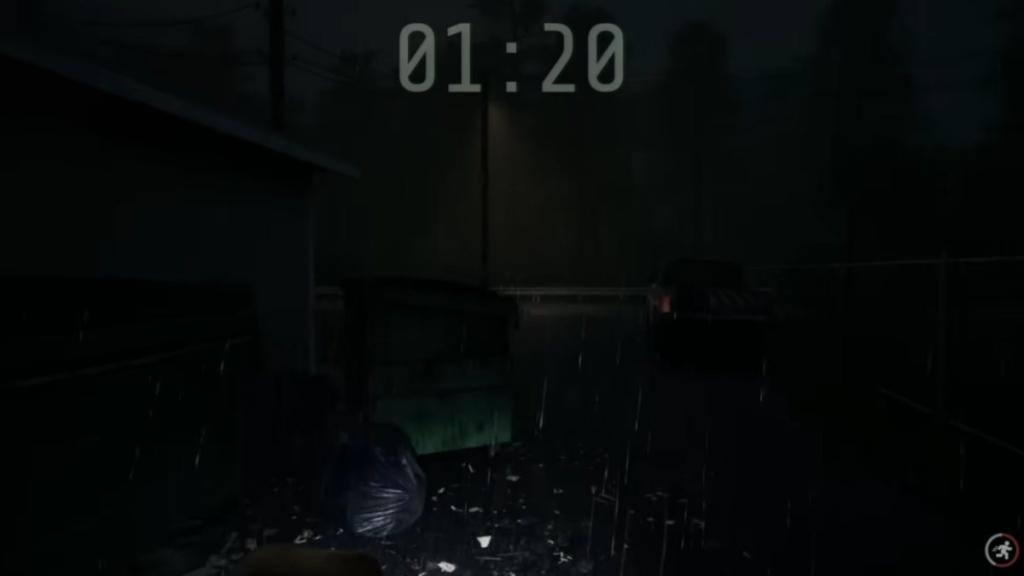
The Bomb Maker operates on a trigger system similar to the Dollmaker from Welcome to the Game 2. This killer does not spawn in every playthrough but can be activated if a player inadvertently visits their specific website. Upon interaction, a prominent in-game timer appears, signifying an imminent threat.
Mechanics:
When the Bomb Maker’s website is accessed, a high-stakes scenario is initiated. Players must immediately check their CryptChat, as the Bomb Maker will send a personal message containing the disarm code for a planted explosive. A strict 90-second window is provided to locate and defuse the bomb. Failure to do so results in immediate game over.
Countermeasures:
The most effective countermeasure against the Bomb Maker is entirely preventative: do not click on the Bomb Maker’s website. By avoiding this specific digital interaction, players can bypass this particular threat entirely. If the website is accidentally accessed, prompt and precise action within the CryptChat and subsequent bomb defusal is the only recourse.
Breather
A returning antagonist from previous Welcome to the Game titles and Dead Signal, the Breather is characterized by its affinity for stalking Amazon Prime drones. Its presence is primarily linked to specific in-game objectives.
Mechanics:
The Breather’s threat is activated when players attempt to retrieve packages from a dead drop location situated outside the motel, specifically underneath a lit bridge on the far left. Any deviation from the direct path to and from the dead drop while the Breather is active will result in immediate elimination. A scripted event occurs upon picking up DarkDrop packages, where the Breather spawns and initiates a pursuit.
Countermeasures:
To survive an encounter with the Breather, players must ensure their stamina is at its maximum before collecting items from the dead drop. Upon being chased, the optimal strategy is to sprint directly back to the motel. Stepping into the motel’s parking lot acts as a safe zone, causing the Breather to cease its pursuit.
Cletus
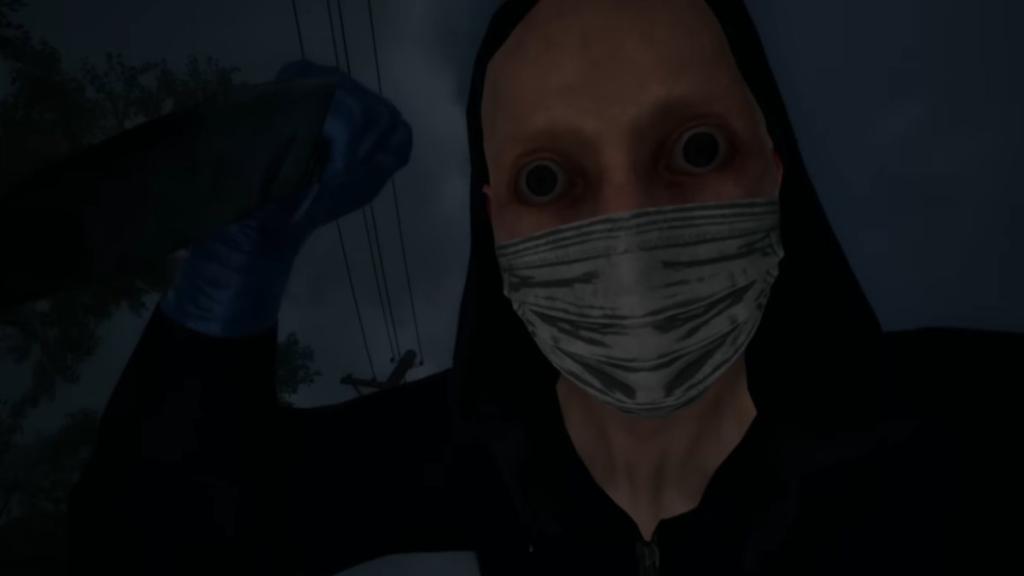
Cletus presents a unique gameplay mechanic that revolves around a specific player requirement: a supply of meth. His threat level is directly tied to whether the player has this substance readily available.
Mechanics:
Cletus will only attack if the player is not in possession of his required supply. He demands meth, and failure to provide it will result in an attack. Product can be acquired from motel rooms and around the parking lot at the beginning of each run. If the player’s supply dwindles, they must locate and contact dealers on A.C.R.S.
Countermeasures:
To appease Cletus, players must maintain a constant supply of meth. This involves contacting dealers by clicking their username on A.C.R.S., checking their Reputation (Rep) level, and then "PINGing" them. This action reveals their Dealer ID, which is then entered into DAREdash. The acquired crystal functions similarly to purchasing items from DarkDrop. It is advisable to carry only one baggie of meth at a time. If Cletus catches a player with an excess supply, he will confiscate the entire amount, forcing the player to replenish their stock. While Cletus will not kill a player with his required substance, he will forcibly relocate them to a motel room if encountered outside.
Kidnapper
The Kidnapper employs one of the most straightforward, yet disruptive, mechanics in the game. Their threat is amplified during power outages or internet disruptions.
Mechanics:
The Kidnapper loiters in a white van within the motel’s parking lot. Players are at risk of immediate abduction if they venture outside (either through the front or back doors) while the van is present.
Countermeasures:
The primary strategy is to remain indoors until the white van is no longer visible. Patience is key, as extended waiting periods can increase the likelihood of other threats, such as Noir, appearing, especially if multiple lights have been switched off to counter Lucas.
Lucas
Lucas, a recurring and consistently formidable antagonist since Welcome to the Game 2, represents the most persistent and direct threat. He functions as a hitman, specializing in assassinating the player.

Mechanics:
Lucas primarily targets Simon (the player) through the back entrances of the main building. While he can attack players outdoors, his preferred method of infiltration is through rear access points, including the Electrical Room door, which can be unlocked.
Countermeasures:
From the commencement of a run, all back doors must be secured and locked. These should only be unlocked if absolutely necessary, such as to repair internet connectivity or restore power. A subtle audio cue signals Lucas’s attempt to unlock a back door, providing a brief window for players to reach one of two designated hiding spots: the lockers to the far right or the laundry basket on the far left of the computer terminal.
Once in a hiding spot, a mini-game is initiated. Players must precisely time their spacebar presses to keep a moving ring within a target band. This gauge only depletes when Lucas departs. The mini-game concludes when the player is safe. To mitigate Lucas’s attacks, it is recommended to turn off two to three lights at the start of each run and to switch off the computer when Lucas is detected, as he can steal DOS coins.
Motion sensors are indispensable tools. When triggered, they emit an audible beep and a visual red flash on the computer taskbar. Positioning two motion sensors on the rear side of the main building (ALLEY), strategically placed away from outer doors, provides ample warning to turn off lights and seek cover.
Noir
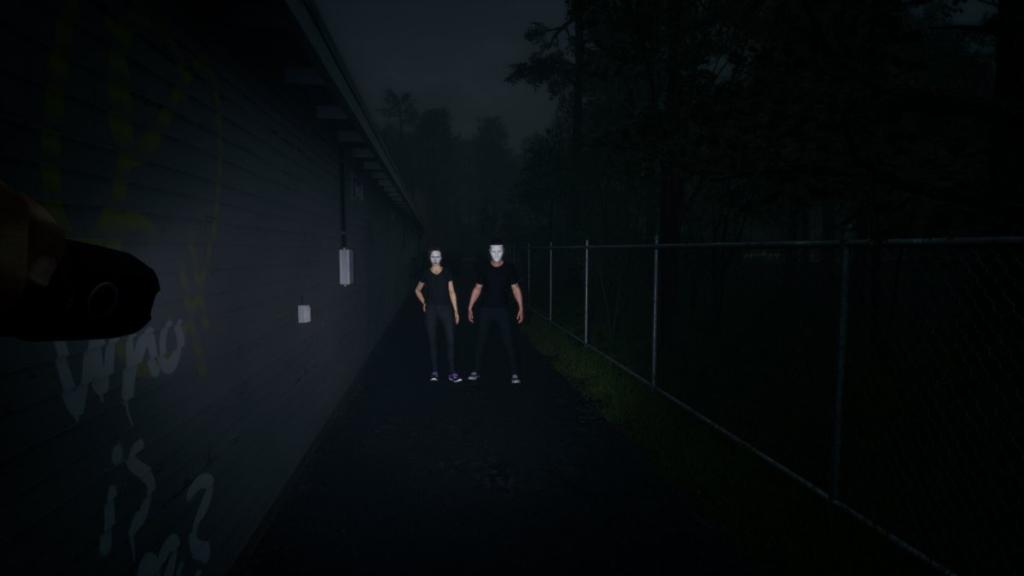
The duo of Noir, returning from Dead Signal, represents a common and insidious threat, particularly when ambient lighting is reduced.

Mechanics:
Maintaining low light conditions significantly increases the probability of Noir’s appearance, making power restoration a perilous undertaking. When Noir appears outside, players must observe their positioning. If one individual is on the left, shining a light on them and then looking away for five seconds is required. If the other individual is positioned to the left, this duration extends to ten seconds. Players should confirm their departure before moving. Occasionally, one member of the duo may directly confront the player at the computer. In such instances, looking away for a few moments until a whisper is heard indicates their imminent departure.
Countermeasures:
Strategic observation and brief periods of averted gaze are the primary methods for dealing with Noir. The whisper cue is a critical indicator of safety.
Tanner
Tanner, a character originating from Scrutinized, is characterized by his desperate pursuit and varied attack vectors, which include assaults within motel rooms and across the counter of the main building.
Mechanics:
Tanner can launch surprise attacks both inside motel rooms and by breaching the main building’s counter. A panic button located to the right of the computer temporarily disables automatic doors, offering a potential escape. Properly timed, this can cause Tanner to collide with the glass, foiling his immediate assault.
Countermeasures:
While the panic button offers a reprieve, overreliance on it can lead to network issues, necessitating outdoor repairs. Installing cameras can aid in spotting Tanner, though they have a slow deployment time. Motion sensors, positioned on the thin pillars at the edge of the motel parking lot near the road, are highly effective. By monitoring the sensor icon on the taskbar, players can identify motion in the FRONT_OUTER_LOT and activate the panic button.

Upon entering motel rooms, players should immediately lock the doors behind them. Utilizing the peephole allows players to ascertain Tanner’s proximity. If he is observed, it signifies he is on a cooldown period, granting a brief window to address other threats.
Tucker
Tucker’s attacks are most frequently encountered when players are engaged in repairing the internet router in the rear of the building.
Mechanics:
The sound of rustling leaves is a strong indicator of Tucker’s presence. This often occurs while the player is mid-animation, unplugging the router. If music is heard playing from an external speaker, it signifies a different approach: players must run into the parking lot and locate a specific motel door marked with an Ace of Spades playing card. Entering this room and locking the door behind them is crucial.
Countermeasures:
When the rustling leaves sound is heard, players should remain stationary until a second rustle indicates Tucker has moved away. If music is playing, the strategy shifts to seeking refuge in the designated motel room. Players should wait within until a triumphant tune plays, signaling Tucker’s departure.
Implications and Broader Impact
The introduction of persistent, AI-driven killers in Welcome to the Game 3 marks a significant evolution in the series’ gameplay loop. This design choice elevates the horror by introducing a constant sense of dread and consequence. Unlike previous installments where threats might be more episodic or predictable, these persistent enemies demand continuous adaptation and strategic foresight.
The economic and resource management aspects of the game are intrinsically linked to survival. The need to acquire tools, gather information, and maintain a secure environment creates a delicate balance. Players are forced to weigh the risks of venturing out for essential resources against the potential for immediate confrontation. This creates a compelling tension that drives player engagement.
The developers, Reflect Studios, have consistently focused on creating immersive and psychologically taxing horror experiences. The detailed mechanics of each killer, coupled with the oppressive atmosphere of the dark web, contribute to a unique brand of digital dread. The success of Welcome to the Game 3 hinges on its ability to maintain this challenging yet rewarding gameplay loop, ensuring that players feel the constant pressure of being hunted while simultaneously empowering them with the knowledge and tools to survive. The intricate interplay between player action, killer AI, and environmental factors ensures that each playthrough offers a fresh and terrifying experience.