


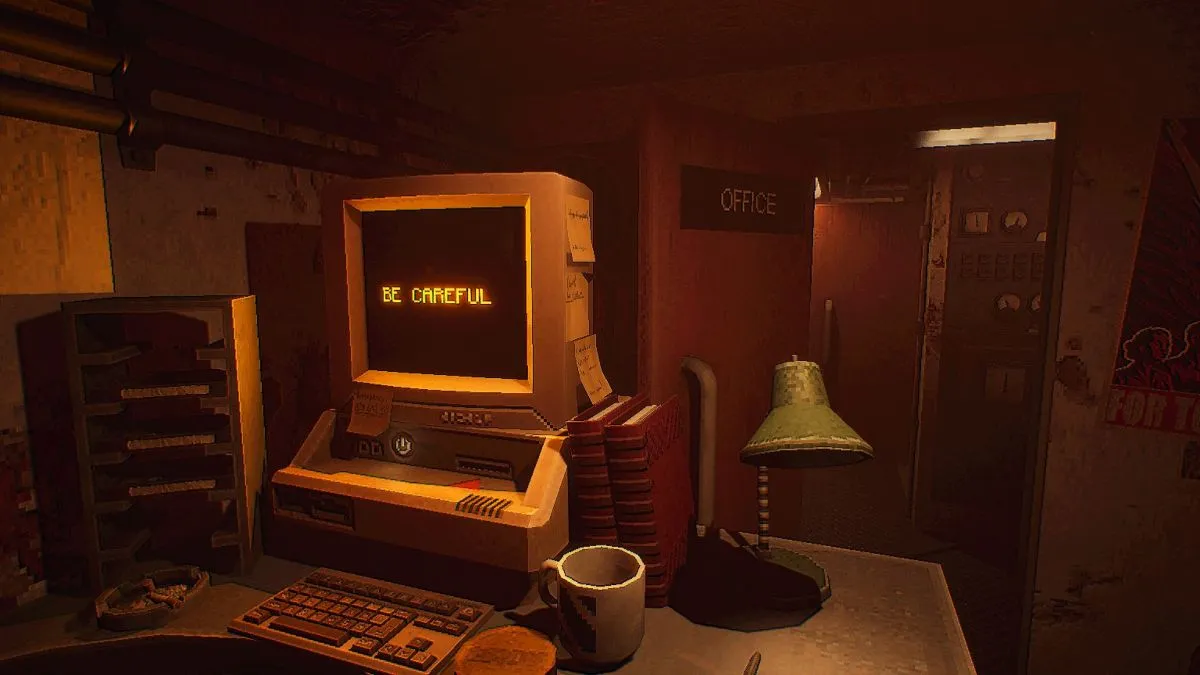
The chilling landscape of the horror genre is undeniably defined by its intricate puzzles, and the recently released psychological thriller, MOLE, masterfully employs this staple to immerse players in the fractured psyche of its protagonist. MOLE eschews conventional hand-holding, instead plunging players into a disorienting abyss where survival hinges on their ability to decipher a series of increasingly complex challenges. Drawing parallels to the unforgiving design of classics like System Shock, MOLE demands active engagement and keen observation, compelling players to "keep digging" both literally and metaphorically. This guide aims to illuminate the solutions to the game’s diverse array of puzzles, ensuring a smoother passage towards uncovering the game’s "masterpiece ending."
The Foundation of Fear: Understanding MOLE‘s Puzzle Design
At its core, MOLE constructs its narrative and gameplay loop around a series of environmental puzzles that directly reflect the protagonist’s deteriorating mental state. Each puzzle is meticulously crafted to be unique, preventing rote memorization and forcing players to adapt their problem-solving strategies. This approach not only heightens the sense of unease but also serves as a powerful narrative tool, mirroring the protagonist’s struggle to piece together a fragmented reality. The game’s developers have emphasized a design philosophy that prioritizes player agency and intellectual challenge, a commitment evident in the absence of explicit tutorials or readily available hints within the game world itself. This deliberate design choice amplifies the feeling of isolation and desperation, making each solved puzzle a hard-won victory.
Navigating the Labyrinth: Puzzle Solutions and Step-by-Step Guides
The journey through MOLE is punctuated by a series of distinct puzzles, each with its own set of mechanics and thematic resonance. Understanding these challenges is crucial for progressing through the game and unraveling its deeper mysteries.
The Fusebox Puzzle: Restoring Power to a Fractured Reality
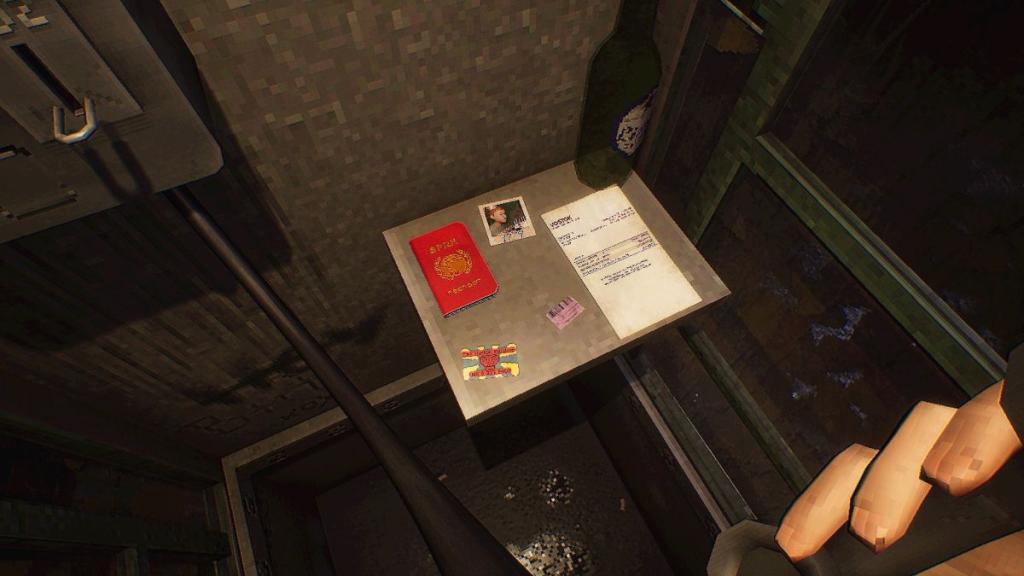
The initial hurdle players encounter in MOLE is the Fusebox puzzle, a critical task that dictates the restoration of power to various sectors of the game’s environment. The core mechanic involves strategically moving fuses to re-establish electrical flow, a process that must be repeated as players venture into new areas. The specific configuration of fuses may vary, but the underlying principle remains consistent: judicious placement is key to unlocking progression.
General Approach:
- Identify the Target Sector: Determine which section of the environment requires power restoration. This is often indicated by darkened areas or deactivated machinery.
- Assess Available Fuses: Observe the number and placement of available fuses within the Fusebox.
- Strategic Placement: Carefully move fuses from their current positions to the designated slots that will energize the target sector. This may involve trial and error, especially in the early stages of the game.
- Power Confirmation: Once fuses are correctly placed, power should be restored to the relevant area, allowing for further exploration or interaction with previously inactive elements.
The Fusebox puzzle serves as an early indicator of the game’s demanding nature, forcing players to engage with the environment and its systems from the outset.
The Phone Puzzle: Unlocking VOSTOK’s Secrets
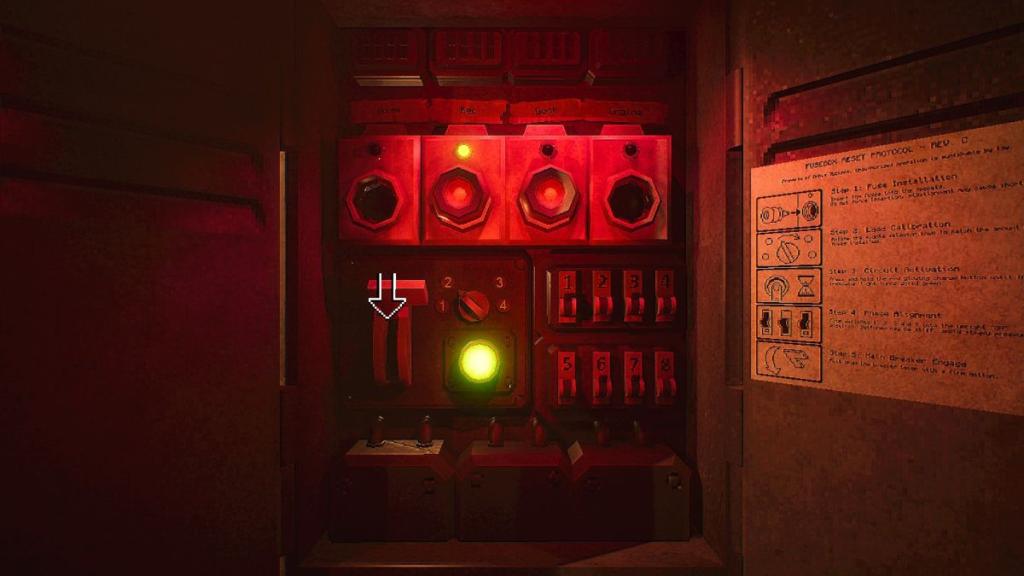
The Phone puzzle introduces a narrative-driven element, requiring players to piece together information to facilitate a crucial transfer. The solution is embedded within the environment of a phone booth, with all necessary clues presented in a chronological order that mirrors the unfolding events.
Information Gathering and Chronological Order:
The puzzle necessitates the assembly of a narrative through disparate clues found within the phone booth. These clues, when arranged chronologically, reveal the necessary steps to deliver information to VOSTOK. While the specific details are integral to the game’s lore, the process involves:
- Locating Clues: Players must meticulously search the phone booth for all relevant documents and visual cues. This includes items such as a passport, a photograph from a birthday, an invoice, and a parking ticket.
- Establishing Chronology: The key to solving this puzzle lies in arranging these discovered items in the order in which the events they represent occurred. This requires careful observation of dates, times, and contextual clues within each item.
- Information Delivery: Once the chronological sequence is established, players can proceed with the necessary action to deliver the information to VOSTOK, a process that is intrinsically linked to the game’s overarching plot.
This puzzle highlights MOLE‘s integration of lore and gameplay, demonstrating how narrative elements directly influence mechanical progression.
The Engine Puzzle: Revitalizing the Heart of the Vessel
The Engine puzzle presents a multi-faceted repair challenge, demanding players to address three distinct broken components within the ship’s engine room. The complexity of this puzzle is amplified by the presence of environmental hazards and the need for specific tools. The engine room itself is a critical junction, and its functionality is paramount to the protagonist’s survival and progress.
Ventilation Repair:
- Objective: To fix the ventilation system.
- Steps:
- Locate a replacement fan situated at the rear of the Engine sector, amidst the engineer Bohdan Pluzhnik’s belongings, including propane tanks.
- Navigate to the Engine room where Pluzhnik’s body is found.
- Proceed to the back-right corner of the Engine room to access the damaged ventilation unit.
- Utilize a screwdriver to detach the broken fan and install the replacement.
Pump Repair:
- Objective: To restore functionality to the ship’s pumps.
- Steps:
- Access the crawlspace located in the close-right corner of the Engine room, which leads beneath the machinery.
- Retrieve a loose fuse already present on the floor within the crawlspace.
- Acquire an additional fuse from the Fusebox located in the Rec sector.
- Replace the damaged component beneath the machinery with the gathered fuses. This action is critical for restoring power to the 100V system. It is advisable to retain the remaining two fuses for immediate use in the Deck and Engine sectors, streamlining future tasks.
Coolant System Repair:
- Objective: To address a malfunctioning coolant pipe.
- Steps:
- Obtain a Wrench from engineer Pluzhnik’s workbench, found in the main Engine sector, opposite the torpedo locker.
- Return to the Engine room and proceed past the crawlspace.
- Crouch beneath the pipework to reach a confined area from which steam is escaping.
- Utilize the Wrench to tighten the loose bolt nut on the compromised pipe.
The Engine puzzle exemplifies MOLE‘s commitment to creating intricate, multi-stage challenges that require exploration, resource management, and the application of specific tools.
The Hospital Puzzle: A Descent into Memory
The Hospital puzzle is a deeply thematic challenge that intertwines gameplay with the protagonist’s fractured memories and the transfer of consciousness. This puzzle requires players to navigate both the physical and a spectral dimension, interacting with the environment in non-linear ways. The goal is to access a specific room and facilitate a crucial memory transfer.
Unlocking Room 317:
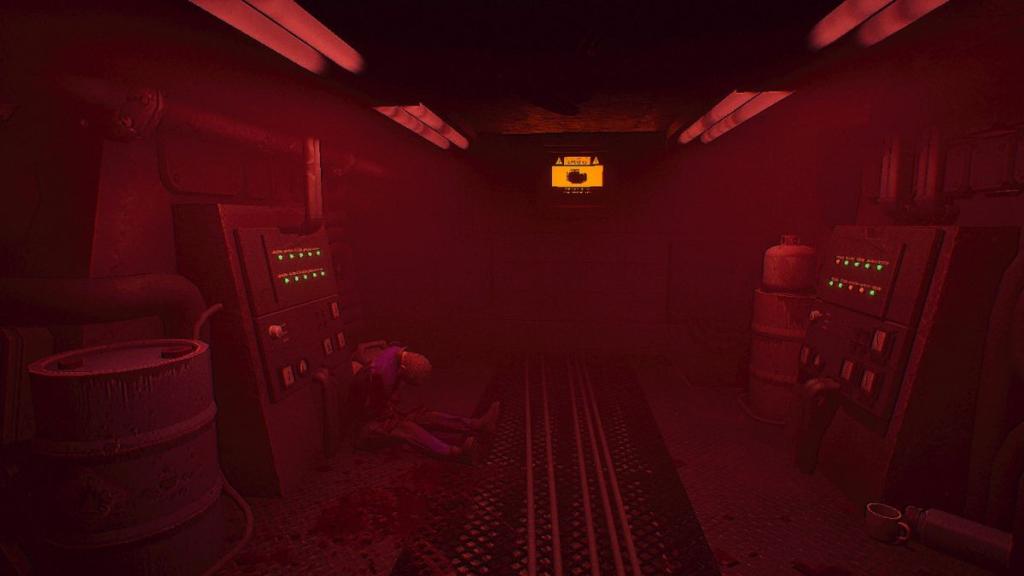
- Initial Clue: Begin by interacting with a monitor behind the receptionist’s desk. This monitor displays a patient on a life support system.
- Spectral Interaction: Transition to the lobby and interact with the hospital bed. This action, though seemingly disconnected from the monitor, reveals the first digit of a code: "3." This interaction often signifies a shift into a less tangible state, where invisible entities and elements become relevant.
- Information Gathering: Locate the lounge in the back-right corner of the hospital wing, utilizing the map in reception for guidance. Interact with the television within the lounge. This action will trigger auditory cues of an invisible presence moving about, further emphasizing the spectral nature of this puzzle.
- Discovering Room 311: Investigate room 311. The specific method of discovering this room is often tied to prior exploration or subtle environmental cues.
- Code Revelation: Upon successfully finding room 311, return to the receptionist’s desk. The interaction will now reveal the full room number: "3 1 7." This code is typically displayed across multiple monitors, signifying a breakthrough.
Memory Transfer in Petro’s Room:
- Access Petro’s Room: With the key obtained after solving the room number puzzle, proceed to Petro’s designated hospital room.
- Life Support Deactivation: The objective here is to turn off life support, a process that enables the transfer of Petro’s memory onto a VOSTOK cassette.
- Sequence Input: The life support console requires a specific sequence of switch activations. The correct order is: 2-4-3-5-1.
- Finalization: After inputting the sequence, turn off the console to complete the memory transfer.
The Hospital puzzle is a poignant example of MOLE‘s narrative depth, seamlessly blending psychological horror with intricate puzzle mechanics. The visual and auditory cues, combined with the spectral interactions, create a deeply unsettling and memorable experience.
The Torpedo Puzzle: A Calculated Strike
The Torpedo puzzle involves a complex sequence of operations within the ship’s torpedo bay, culminating in a targeted detonation. This puzzle requires precision and an understanding of the torpedo launch system.
Preparing and Launching the Torpedo:
- Key Acquisition: Locate a crucial key within the immediate vicinity of the torpedo bay. This key is essential for unlocking the locker containing the torpedoes in the engineer’s room, situated opposite the Engine sector.
- Torpedo Pod Manipulation:
- Spin the designated wheel to elevate the metal prod situated atop the torpedo pod.
- Utilize the arrow keys located beneath the prod to disengage the lock mechanism.
- Lift the torpedo pod to expose its interior.
- Slide open the pod and carefully place a torpedo inside.
- Securing the Torpedo: Reverse the preceding steps to lower and securely seal the torpedo pod.
Detonation Sequence:
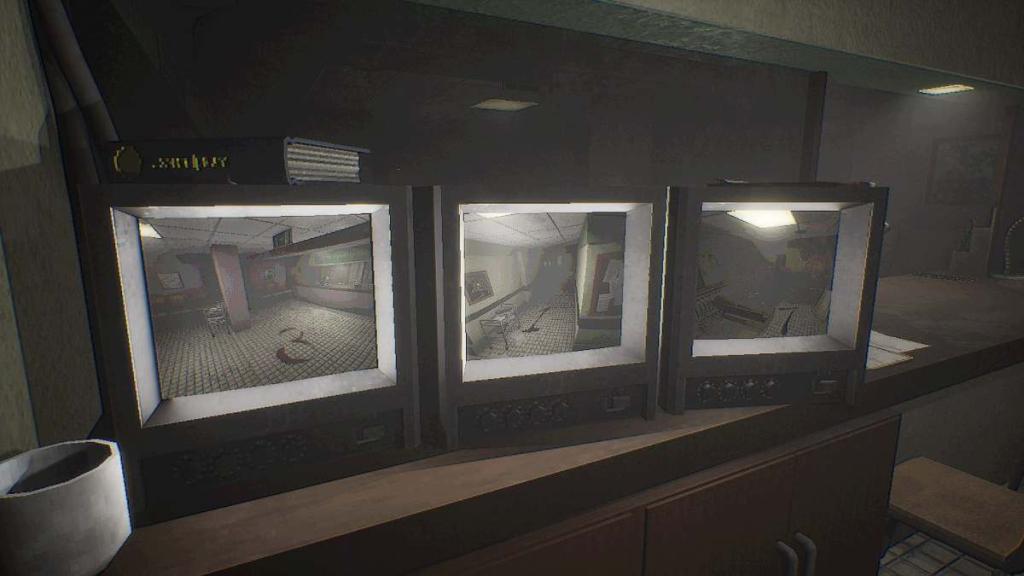
- Detonator Activation: Once the torpedo is properly loaded and secured, the detonator will become active.
- Trajectory Monitoring: Observe the depth meter to track the torpedo’s path towards its designated target.
- Initiating Detonation: Interact with the detonator to initiate the launch sequence.
- Target Confirmation: Wait for the torpedo’s indicator on the depth meter to align with the target marker.
- Final Detonation: Interact with the detonator once more to trigger the torpedo’s explosion.
This puzzle emphasizes the game’s intricate environmental interactions and the critical nature of precise execution in high-stakes situations.
The Gun Case Puzzle: Unlocking a Vital Tool
The Gun Case puzzle is a relatively straightforward, yet essential, challenge that provides players with a critical defensive tool. The solution relies on deciphering a coded message found on the gun case itself.
Code Deciphering:
- Note Examination: Carefully read the note attached to the gun case. This note provides the key to unlocking the combination.
- Location of Numbers: The note directs players to search the quarters of the Administrator, Navigator, Geologist, and Engineer. Within each of these rooms, a single digit of the four-digit code will be found on a red sticky note.
- Code Assembly: Collect the four digits from each respective quarter and assemble them in the correct order to form the four-digit combination.
- The Code: The discovered code is 8 3 5 7.
This puzzle, while less complex than others, serves to equip the player with necessary resources for later stages of the game, demonstrating a balanced approach to puzzle design.
The Mosaic Puzzle: The Final Revelation
The Mosaic puzzle represents the game’s culminating challenge, a visually and thematically significant task that requires players to reconstruct a narrative through symbolic imagery. This puzzle can present technical challenges, as players are typically limited to swapping one item for another, with no option to drop items.

Reconstructing White Rabbit’s Story:
- Understanding the Mechanic: Players must place religious mosaics depicting elements of the White Rabbit’s story into their correct slots. The order is dictated by scripture found within each designated slot.
- The Correct Sequence: The mosaics must be arranged from left to right in the following order:
- [Specific Mosaic 1 – e.g., The Fallen Angel]
- [Specific Mosaic 2 – e.g., The Temptation]
- [Specific Mosaic 3 – e.g., The Ascent]
- [Specific Mosaic 4 – e.g., The Revelation]
The narrative of the White Rabbit, as presented in MOLE, is a recurring motif that gains prominence through excerpts found in the Cockpit. Humanity’s historical perception of the White Rabbit as an angelic figure is explored, with the story unfolding passage by passage as players progress. This final puzzle serves as a thematic capstone, tying together the game’s religious undertones and the protagonist’s journey of self-discovery and unraveling.
MOLE‘s intricate puzzle design, coupled with its compelling narrative and atmospheric horror, creates an experience that is both challenging and deeply rewarding. Each solved puzzle not only facilitates progression but also provides crucial insights into the protagonist’s fractured mind and the overarching mysteries of the game world. Players who persevere through these trials will undoubtedly uncover the full depth and impact of MOLE‘s masterfully crafted psychological descent.