



The intricate world of DragonSword: Awakening offers players a deep level of character customization, with the rune system standing as a cornerstone for maximizing hero builds. While the game provides players with the tools to enhance their heroes, it has been noted that the in-game explanations for each rune’s specific benefits can be somewhat opaque, leaving many players to navigate this crucial aspect of progression through trial and error. This comprehensive guide delves into the functionality of each rune type, the methods for their acquisition, and a strategic prioritization for players aiming to achieve peak performance in DragonSword: Awakening.
The core of character progression in DragonSword: Awakening lies in the strategic application of runes, which are integral to tailoring hero capabilities for diverse combat scenarios. These powerful enhancements, obtainable through various in-game activities, offer significant stat boosts that can dramatically alter a hero’s effectiveness in both offensive and defensive capacities. Understanding the nuances of each rune type, its rarity, and how to best leverage its benefits is paramount for any player serious about conquering the game’s most challenging content, from demanding raids to competitive player-versus-player encounters.
Understanding the Rune System in DragonSword: Awakening
DragonSword: Awakening features five distinct types of runes, each designed to augment a specific pre-selected statistic. These runes are not created equal; their potency is further stratified by a rarity system that includes Damaged, Intact, Refined, Radiant, and Perfect. This tiered approach means that while the fundamental stat bonus remains consistent across rune types, the magnitude of that bonus can vary significantly based on its rarity.
The runes are primarily acquired as rewards from engaging in the game’s raid content. This makes consistent participation in raids a critical pathway for players seeking to gather a comprehensive collection of runes. Beyond raids, other activities such as progressing through the main story campaign, successfully navigating the Ashen Ruins dungeon, and completing specific in-game challenges can also yield these valuable enhancements. The acquisition process is therefore multifaceted, encouraging engagement across a broad spectrum of the game’s offerings.
It is important to note that the rune system incorporates a significant element of Random Number Generation (RNG). This means that even a higher rarity rune might, in some instances, offer a statistical benefit comparable to a lower rarity rune of the same type. Players should be prepared for this inherent variability and understand that accumulating a diverse collection of runes, regardless of initial rarity, is key to finding the optimal combinations for their heroes.
Detailed Breakdown of Rune Types and Their Effects
While the exact numerical values for each stat boost are subject to rarity, the fundamental purpose of each rune type is as follows:
- [Rune Type 1 – e.g., Resolve]: This rune type is dedicated to enhancing the Attack (ATK) statistic. A higher ATK value directly translates to increased damage output in combat, making it a universally desirable rune for offensive-oriented heroes. The importance of ATK cannot be overstated, as it forms the bedrock of damage calculations across most character archetypes.
- [Rune Type 2 – e.g., Amplification]: Focusing on Critical Damage (CRIT DMG), this rune type is crucial for players aiming to maximize their burst damage potential. Achieving high critical hit damage allows for devastating blows that can swiftly eliminate powerful enemies or significantly shorten engagement times.
- [Rune Type 3 – e.g., Tenacity]: This rune type is designed to bolster Defense (DEF). For heroes who are expected to absorb damage or survive prolonged engagements, a strong DEF stat is essential. It reduces incoming physical and magical damage, thereby increasing survivability.
- [Rune Type 4 – e.g., Swiftness]: Primarily affecting Speed (SPD), this rune type is vital for heroes who benefit from acting more frequently or initiating combat. A higher SPD stat allows a hero to take their turn sooner in the turn-based combat system, enabling quicker application of buffs, debuffs, or attacks.
- [Rune Type 5 – e.g., Vitality]: This rune type focuses on increasing Health (HP). A larger HP pool means a hero can withstand more damage before being defeated, making it a fundamental stat for tanking roles and enhancing the overall resilience of any character.
Prioritizing Rune Acquisition and Application
For players looking to optimize their builds in both the early and late stages of DragonSword: Awakening, certain runes stand out due to their universal applicability and significant impact on core gameplay mechanics.
Resolve and Amplification are widely considered to be the most impactful rune types. The emphasis on boosting the ATK stat through Resolve is a fundamental requirement for virtually any offensive build. Whether a hero is a primary damage dealer, a secondary attacker, or even a support unit that can contribute damage, maximizing ATK ensures that their contributions are as potent as possible. This is particularly critical in the early game, where even small stat increases can make a substantial difference in overcoming early challenges. In the end-game, where enemy defenses are formidable, a high ATK stat becomes non-negotiable for efficient progression.
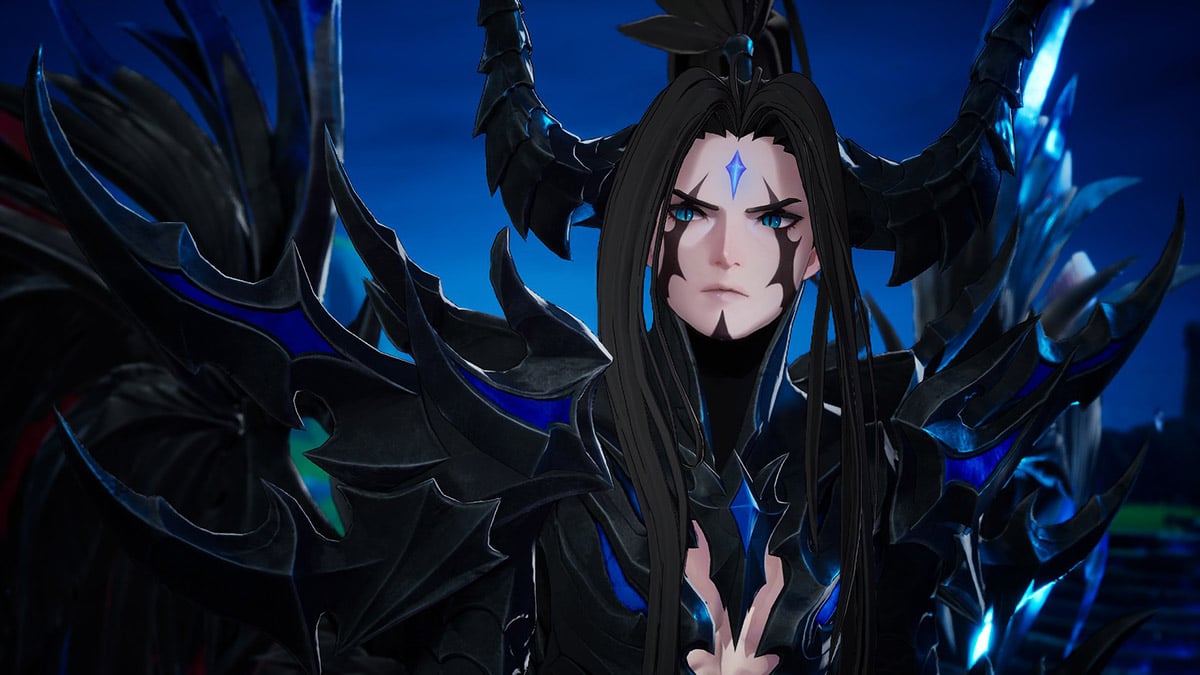
The Amplification rune, by providing bonuses to Critical Damage, offers a complementary pathway to significantly increasing damage output. The ability to reach and surpass a 150%+ Critical DMG threshold without compromising other essential stats is a hallmark of a well-optimized build. This allows for critical hits that deal exponentially more damage, leading to faster enemy takedowns and a more dynamic combat experience. Combining high ATK with high Critical DMG can create a synergy that makes a hero a truly formidable force on the battlefield.
While ATK and Critical DMG are often prioritized, the importance of other rune types should not be overlooked. For characters designed to soak damage, such as tanks, runes that enhance DEF and HP become paramount. These defensive runes ensure that the character can fulfill their role effectively, drawing enemy aggression and protecting more fragile allies. Similarly, for heroes with abilities that rely on acting quickly, such as those who apply crucial buffs or debuffs at the start of combat, runes that boost SPD can be game-changing. The strategic choice of runes will ultimately depend on the hero’s intended role within a team composition.
Unlocking Rune Slots and Equipping Runes
The process of equipping runes is tied to a hero’s equipment. Players can add runes to any equipment piece that is rated as 4-star or higher. Each piece of gear has a limited number of rune slots, which are initially locked. To unlock these slots, players must interact with them. This can be done by clicking on the locked rune slot when examining a piece of gear or by pressing the designated button (Triangle on PlayStation controllers, Y on Xbox controllers) while in the equipment management screen.
The cost of unlocking each rune slot is one Anonymous Artisan’s Crafting Tool. These crucial items are not a common drop but can be acquired through several reliable in-game methods:
- Raids: Successful completion of raid encounters frequently rewards players with Crafting Tools, making raid participation a consistent source.
- Story Progression: Advancing through the main narrative campaign often yields these tools as milestone rewards.
- Ashen Ruins Dungeon: Successfully completing the Ashen Ruins dungeon is another confirmed method for obtaining Crafting Tools.
- Exchange Shop: Players can also purchase Crafting Tools from the Exchange shop by spending 100 Adventurer’s Emblems. This offers a more direct, albeit resource-intensive, method of acquisition.
Once a rune slot is unlocked, players can freely equip any rune they possess into it. The system is designed to be flexible, allowing players to experiment with different rune combinations. Should a player wish to change their rune setup, runes can be replaced or removed at any time. This process incurs a cost of 10,000 gold per rune manipulation after the initial slot unlock. Importantly, removing or replacing runes does not destroy the runes themselves and does not require additional Crafting Tools, offering a straightforward way to adapt builds as needed.
Broader Implications and Strategic Considerations
The rune system in DragonSword: Awakening is more than just a stat-boosting mechanism; it represents a critical layer of strategic depth that significantly influences a player’s progression and overall success. The introduction of this system signifies a shift in game design that emphasizes long-term character development and player investment. By making runes a primary means of character optimization, the developers encourage players to engage with the game’s core mechanics and content over extended periods.
The acquisition methods for runes, particularly their strong ties to raid content, inherently create a progression loop. Players are incentivized to participate in challenging group activities to obtain the best gear and enhancements, fostering a sense of community and cooperative play. The rarity system, while introducing an element of chance, also ensures that there is always a potential for significant upgrades, keeping players engaged even after extensive play sessions.
From a data-driven perspective, the impact of well-chosen runes can be quantified. For instance, a hero with an ATK stat of 2000 might see their damage output increase by as much as 10-20% with a high-tier Resolve rune. Similarly, a Critical Damage stat of 100% could be boosted to 150% or more with Amplification runes, leading to a substantial multiplicative increase in damage dealt on critical hits. These percentage-based improvements, when applied across a team of heroes, can drastically alter the difficulty of encounters. A team that was previously struggling to defeat a boss might find victory within reach once their offensive capabilities are properly augmented by optimal rune selections.
The flexibility offered by the rune system, allowing for easy replacement at a nominal gold cost, also supports dynamic team building. Players can adapt their rune loadouts to counter specific enemy mechanics or to excel in different game modes. This encourages a deeper understanding of hero roles and the strategic interplay between different character abilities. It moves beyond simply acquiring powerful heroes and instead focuses on mastering the art of their enhancement.
In conclusion, the rune system in DragonSword: Awakening is an indispensable component for players seeking to maximize their heroes’ potential. While the game’s initial presentation of rune mechanics may require further player exploration, a thorough understanding of each rune type, its acquisition methods, and a strategic approach to prioritization will unlock new levels of power and efficiency. By diligently collecting and wisely equipping runes, players can transform their heroes from capable combatants into truly legendary forces, ready to conquer any challenge the world of DragonSword: Awakening presents. Players are advised to continually assess their heroes’ needs and adjust their rune strategies accordingly, as the pursuit of peak performance is an ongoing journey within the game’s rich and evolving landscape.