


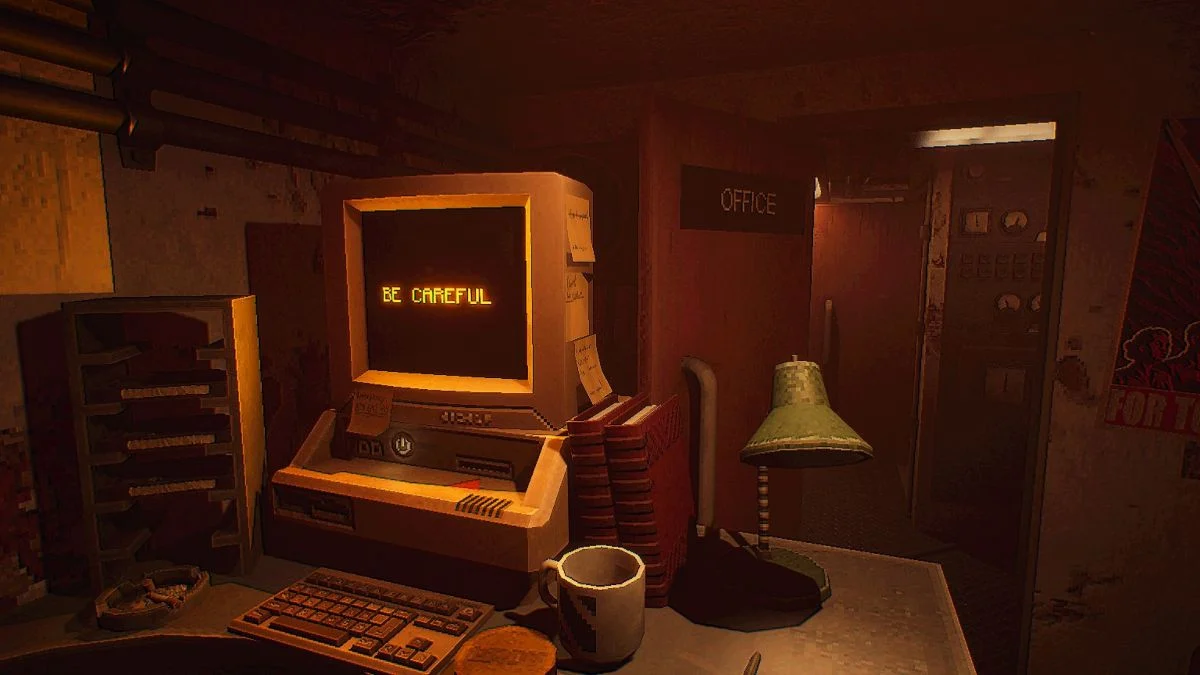
The chilling depths of the horror genre are often punctuated by intricate puzzles, and the upcoming title, MOLE, promises to deliver a potent blend of psychological dread and cerebral challenges. Designed to mirror the demanding, hands-off approach of classics like System Shock, MOLE eschews player hand-holding, instead plunging participants into a disorienting abyss where the unraveling psyche of the protagonist is as central as the environment itself. This guide aims to illuminate the solutions to MOLE‘s diverse puzzle mechanics, ensuring players can navigate the narrative’s complexities and reach its climactic conclusion with greater ease.
The core design philosophy of MOLE appears to center on emergent gameplay and environmental storytelling, a trend that has seen a resurgence in recent years among survival horror and immersive sim titles. By refusing to explicitly guide the player, the developers aim to foster a sense of genuine discovery and accomplishment, amplifying the feeling of isolation and vulnerability that is paramount to the horror experience. The integration of puzzles is not merely an addendum but a fundamental component, intricately woven into the progression and thematic exploration of the game. Each puzzle is reportedly unique, a deliberate choice to prevent player reliance on rote memorization and instead encourage adaptive problem-solving. This commitment to variety suggests a deep level of engagement with the player’s cognitive faculties, pushing them to analyze their surroundings and the scarce information provided.
Navigating the Labyrinth: MOLE Puzzle Solutions and Steps
The initial stages of any complex system, whether technological or narrative, often present the most fundamental challenges. In MOLE, these foundational puzzles serve to both establish the game’s mechanics and introduce the player to the precarious state of the protagonist’s reality.
The Fusebox Puzzle: Restoring Essential Power
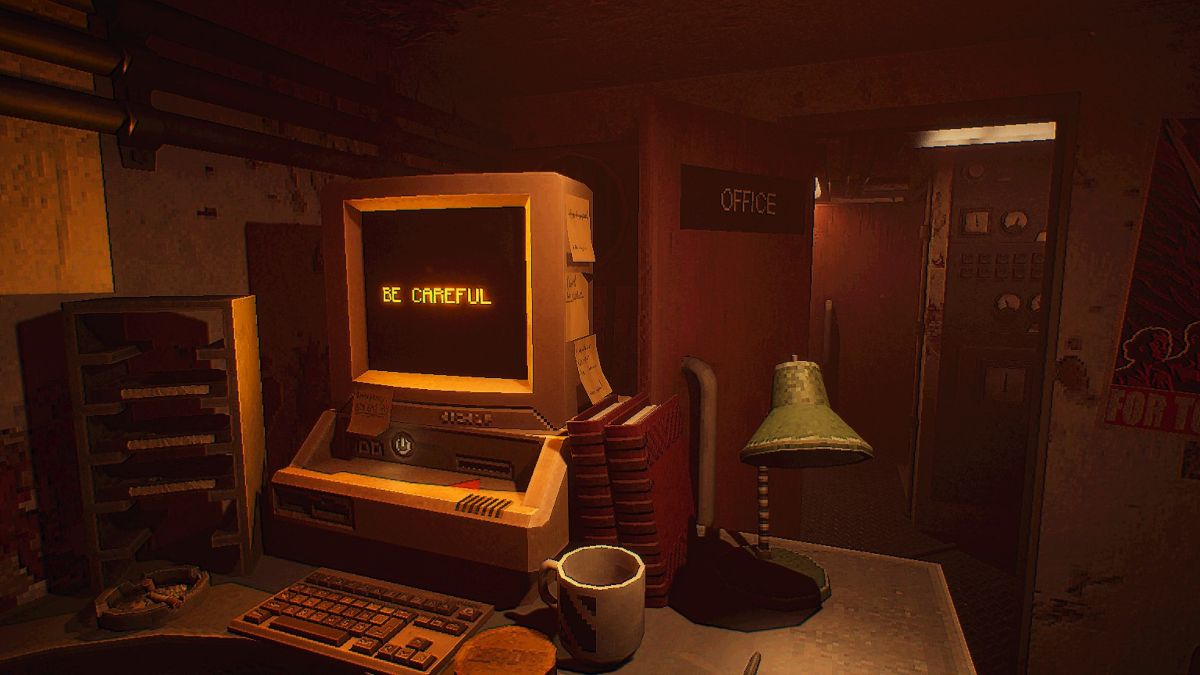
The very first hurdle players will encounter in MOLE is the critical task of restoring power to various sectors of the station. This is a recurring necessity, as each new area explored demands a fresh application of power management. The Fusebox puzzle, while seemingly straightforward, requires careful consideration of resource allocation and an understanding of how power conduits function within the game’s simulated environment. The image accompanying this section depicts a fusebox with switches labeled 1 through 7, with switches 1, 3, 6, and 7 in the "down" position, and two fuses selected. This visual cue suggests a process of activating specific circuits to reroute power.
General Approach to Fusebox Puzzles:
The overarching strategy for any Fusebox puzzle in MOLE involves identifying which sectors require power and then manipulating the available fuses and switches to achieve this. Players will likely need to observe the environment for clues indicating power outages or the specific needs of machinery. The act of moving a fuse to a new sector implies a temporary deactivation of power in another, necessitating a strategic approach to progression. It is crucial to understand that no two fusebox puzzles are identical; the configuration of switches, the number of available fuses, and the power requirements of different zones will likely vary, demanding a fresh assessment each time. The game’s designers have stated that the goal is to illuminate new sectors, implying that successful power restoration opens up pathways or activates essential systems. Players are advised to document their power routing decisions, especially in later stages where multiple sectors might require simultaneous or sequential power.
The Phone Puzzle: Deciphering Communications and Chronology
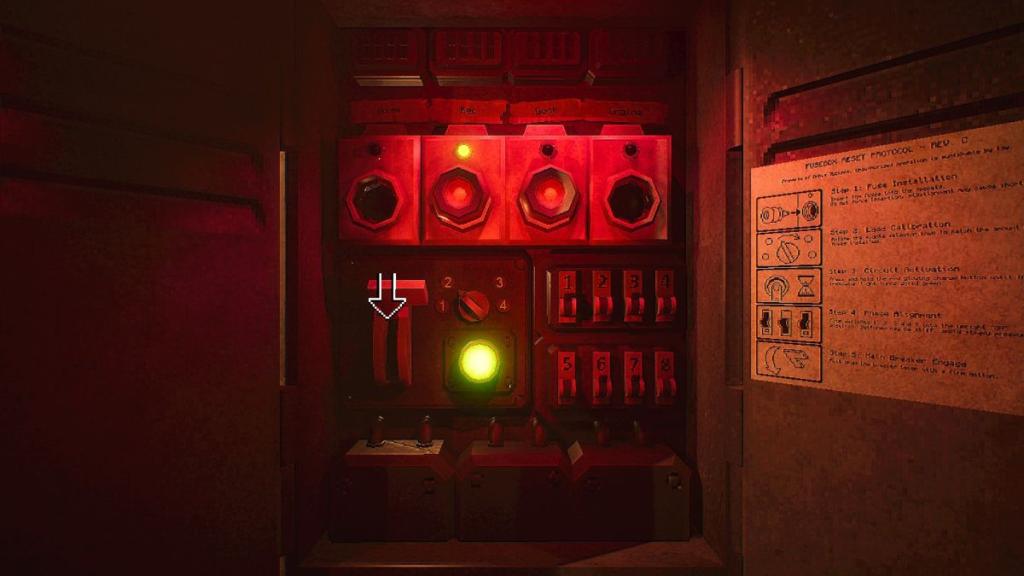
The Phone puzzle presents a narrative-driven challenge, requiring players to piece together fragmented information to achieve a specific objective. The provided image shows a phone booth with various items visible: a passport, a photograph of a sixth birthday, a VOSTOK invoice, and a hospital parking ticket. This suggests that the solution lies in analyzing these documents and arranging them in a specific chronological order to facilitate a communication or delivery. The objective, as hinted by the VOSTOK invoice, appears to be related to a delivery or retrieval operation.
Information Extraction and Chronological Ordering:
The key to this puzzle lies within the confines of the phone booth itself. Players must carefully examine each item to glean its temporal significance. The "passport" and "photo of Petro’s sixth birthday" likely establish an early point in a timeline. The "VOSTOK invoice" and "hospital parking ticket" will then need to be contextualized within this established sequence. The game’s prompt indicates that all necessary information is present and that the goal is to "hand VOSTOK," implying a need to provide correct details or credentials.
Hypothetical Chronological Sequence (based on typical puzzle design):
- Petro’s Sixth Birthday Photo: This would likely represent the earliest event, setting a baseline for the timeline.
- Hospital Parking Ticket: This suggests an event occurring at a hospital, possibly related to Petro’s birth or a subsequent medical event. The date on the ticket would be crucial.
- Passport: This document would indicate travel or identity verification, likely occurring after the initial events.
- VOSTOK Invoice: This final document would represent the most recent event, detailing the transaction or order related to VOSTOK.
By meticulously ordering these items, players are expected to unlock the next stage of the narrative, possibly by inputting a code derived from the dates or by presenting the correct sequence of information. The game’s emphasis on not holding the player’s hand means that the exact method of "handing VOSTOK" will likely be an interactive element within the game, requiring players to apply their deduced chronological order.
The Engine Puzzle: Revitalizing Core Machinery
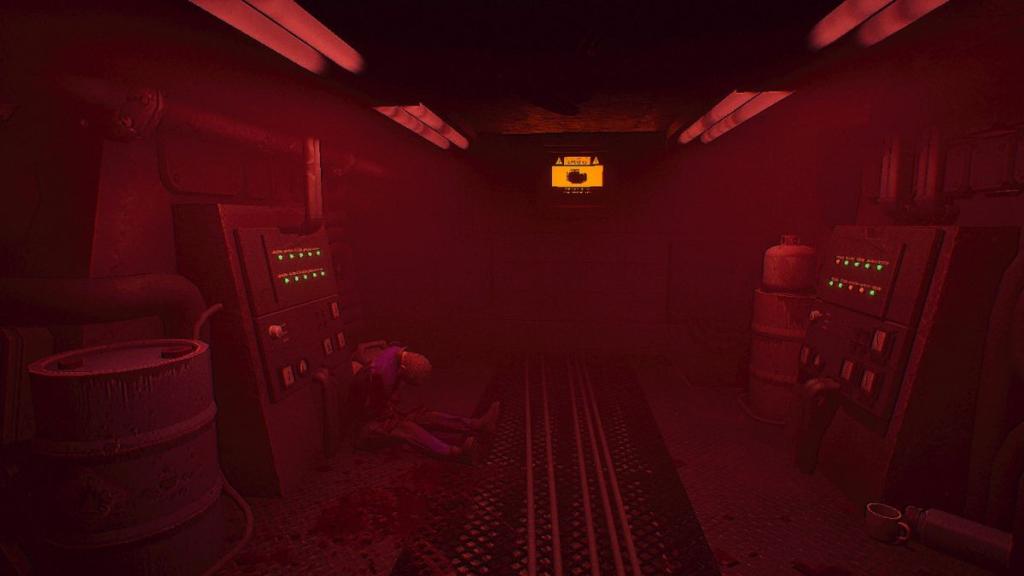
The Engine puzzle involves repairing critical machinery, a multi-faceted task that requires players to locate and utilize specific tools and components. The accompanying image shows an engine room with a slumped body, presumably that of engineer Bohdan Pluzhnik, adjacent to the machinery in need of repair. This grim scene underscores the urgency and potential danger associated with the task. The puzzle is broken down into three distinct repair segments: Ventilation, Pumps, and Coolant.
Ventilation Repair
- Objective: To fix the ventilation system.
- Solution: Players must locate a fan unit at the rear of the Engine section, amidst Pluzhnik’s equipment and propane tanks. This fan needs to be transported to the main Engine room. Once there, the broken fan should be replaced with the retrieved one. The process of removal and installation will require a screwdriver, which players will need to find or have in their inventory. The image suggests the fan is a key component of the ventilation system, and its malfunction has rendered it inoperable.
Pumps Repair
- Objective: To restore the functionality of the pumps.
- Solution: Access to the machinery’s underbelly is required, achievable via a crawlspace located in the close-right corner of the Engine room. Within this crawlspace, a loose fuse will be found on the floor. However, this is insufficient. Players must then procure an additional fuse, likely from the Fusebox in the Rec (Recreation) area. This spare fuse will be used to replace a broken component within the pump machinery. Successful repair is indicated by the restoration of power to 100V. The advice to keep remaining fuses for Deck and Engine suggests foresight and strategic inventory management will be rewarded.
Coolant System Repair
- Objective: To mend the coolant system.
- Solution: The necessary tool for this repair is a Wrench, which can be found on Pluzhnik’s workbench in the main Engine sector, opposite the torpedo locker. With the Wrench in hand, players must proceed to the Engine room. Navigating past the crawlspace and crouching beneath pipework will lead to a small area where steam is visibly escaping from a compromised pipe. The Wrench must then be used to tighten a loose bolt nut, sealing the leak and restoring the coolant system.
The Hospital Puzzle: Unlocking Patient Records and Memory Transfer
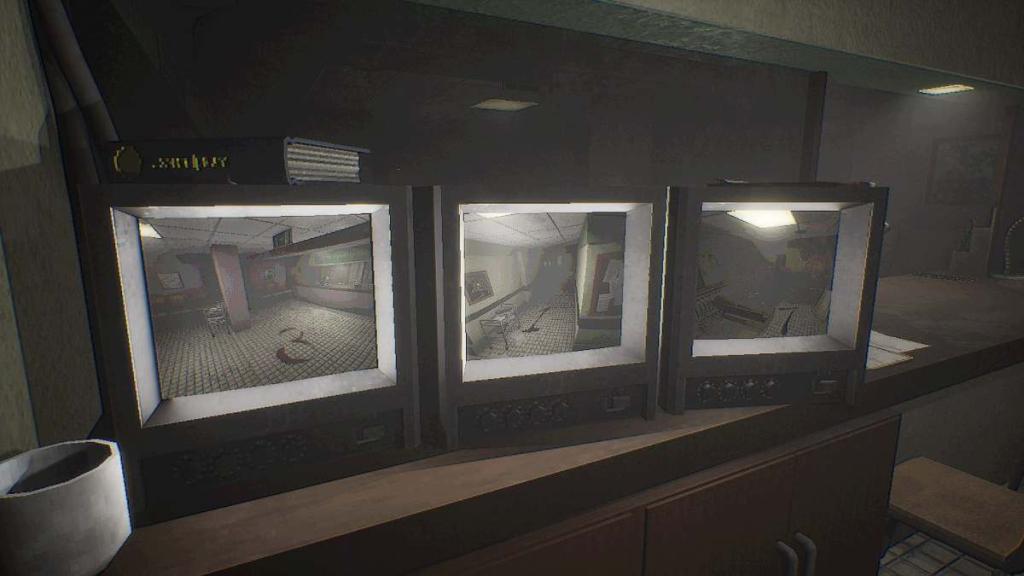
The Hospital puzzle is a complex endeavor that blends environmental observation with a sequence-based activation. The accompanying image displays a receptionist desk with monitors showing the numbers 3, 1, and 7. The puzzle’s objective involves accessing a specific room, transferring memory data, and ultimately reaching a "masterpiece ending." The initial clue is provided by interacting with a hospital bed in the lobby, which reveals the first digit of a code: "3."
Sequence and Data Retrieval:
- Initial Clue: Interacting with the hospital bed in the lobby reveals the first digit of the code: "3."
- Second Clue: Players must then locate the lounge in the back-right corner of the hospital wing. A map in the reception area can aid in navigation. Interacting with the television in the lounge will trigger an auditory cue of an invisible entity moving, suggesting the presence of a hidden element or entity tied to this location.
- Third Clue: Players must find and enter room 311. The exact purpose of entering this room is not explicitly stated but implies it is a step in revealing the subsequent digits.
- Final Code Revelation: Upon completing the previous steps, returning to the receptionist desk will yield the full room number: "3 1 7." This number is crucial as it must be displayed across all three monitors simultaneously to unlock a key.
Memory Transfer and Life Support Deactivation:
With the key in hand, players proceed to Petro’s hospital room. Here, the objective shifts to transferring his memory onto a VOSTOK cassette. This is achieved by deactivating life support. The specific sequence for flipping the switches on the console is provided: 2-4-3-5-1. Following this sequence and then turning off the console will successfully transfer the memory, advancing the narrative and likely unlocking further puzzle elements or story progression. The image of the monitors displaying "3 1 7" reinforces the importance of this numerical sequence in unlocking critical plot points.
The Torpedo Puzzle: Arming and Detonating a Munition
The Torpedo puzzle involves the precise operation of a torpedo launching system, requiring careful manipulation of mechanisms and timing. The provided image shows a torpedo being placed into an open slot, with an explosive target on the right and a message reading "FIRE NOT READY" on the left. This indicates that the system is not yet primed for launch. A key within this room is necessary to unlock a locker containing torpedoes in the engineer room, which is situated opposite the Engine section.
Torpedo Launch Sequence:
- Accessing Torpedoes: First, players must locate and retrieve a key within the puzzle area. This key will unlock the torpedo locker in the engineer room.
- Preparing the Pod: The torpedo pod requires preparation. This involves spinning a wheel to raise a metal prod situated atop the pod.
- Removing the Lock: Using the arrow keys located beneath the raised prod, players must remove the lock mechanism. This action allows the pod to be lifted.
- Loading the Torpedo: Once the pod is lifted and slid open, a torpedo must be placed inside.
- Sealing the Pod: The process is then reversed: the pod is lowered and sealed, ensuring the torpedo is secured.
- Detonator Activation: If these steps are executed correctly, the detonator will become usable. Players must then consult the depth meter to track the torpedo’s trajectory toward its designated target.
- Detonation: The final action involves interacting with the detonator to initiate the launch. Players must wait for the torpedo’s mark on the depth meter to align with the target. A second interaction with the detonator will then trigger the explosion. The "FIRE NOT READY" message serves as a constant reminder that the system is inert until all preparatory steps are completed.
The Gun Case Puzzle: Unlocking Vital Equipment
The Gun Case puzzle is presented as a straightforward numerical lock challenge. The image displays a gun case with a combination lock showing the numbers 8, 3, 5, and 7. The solution is derived from a note found on the case itself, which directs players to search the dormitories for a four-digit code. These numbers are to be found on red sticky notes within the quarters of the Administrator, Navigator, Geologist, and Engineer. These individuals represent key personnel within the MOLE narrative, and their personal spaces likely hold clues related to the protagonist’s mission.
Code Acquisition and Entry:
- Locate the Note: The first step is to find the note attached to the gun case. This note will explicitly state the need to search the dorms.
- Explore Dormitories: Players must then systematically explore the quarters of the Administrator, Navigator, Geologist, and Engineer.
- Identify Sticky Notes: Within each of these rooms, players should look for red sticky notes. Each note will contain a single digit of the four-digit code.
- Assemble the Code: Once all four digits are collected, they must be assembled in the correct order. The game’s design strongly suggests that the order in which the rooms are visited or the digits are found will correspond to the correct sequence for the gun case lock.
- Enter the Code: The collected digits, forming the sequence 8-3-5-7, must be entered into the combination lock on the gun case. Successfully entering the code will unlock the case, providing the player with access to a weapon, which is likely essential for survival or for overcoming future obstacles in the game.
The Mosaic Puzzle: Reconstructing a Narrative Tapestry
The Mosaic puzzle serves as the game’s final challenge, requiring players to arrange religious mosaics in a specific order based on scripture. The accompanying text notes that this puzzle can be "buggy," with a limitation on item interaction: only one item can be replaced at a time, and items cannot be dropped. This constraint suggests a delicate process of trial and error and careful placement. The mosaics themselves are linked to the "White Rabbit" narrative, a story that is presented in excerpts within the Cockpit as the player progresses.
Arranging the Mosaics:
- Objective: To correctly place the religious mosaics in chronological order, mirroring the story of the White Rabbit as told through scripture.
- Method: Players will need to refer to the "Throne excerpts" found in the Cockpit. These excerpts provide the narrative in sequential passages. Each mosaic represents a specific event or element within this story.
- Order of Placement: The mosaics must be placed from left to right, adhering strictly to the order dictated by the scripture. While the specific sequence is not provided in the original text, it is implied that the player will be able to deduce it by correlating the visual elements of the mosaics with the textual descriptions in the Throne excerpts.
- Implications of the White Rabbit Narrative: The White Rabbit is described as being perceived by humanity as an angel. This symbolism suggests themes of guidance, transformation, or perhaps a deceptive entity leading the protagonist through a complex journey. The final mosaic puzzle, therefore, serves as a culmination of the narrative’s symbolic arc, requiring players to demonstrate their understanding of its core allegorical elements. The puzzle’s finality and potential for bugs highlight the high stakes and intricate design of MOLE‘s concluding challenges, pushing players to their limits before the game’s ultimate resolution.
MOLE promises a deeply immersive and mentally engaging experience, where every puzzle is not just an obstacle but a narrative gateway, a reflection of the protagonist’s fractured mind, and a testament to the developers’ commitment to challenging gameplay. As players delve deeper, they will not only be solving puzzles but also piecing together the fractured reality of the game’s central character, a journey that is sure to be as unsettling as it is rewarding.